Composite decking – everything you need to know
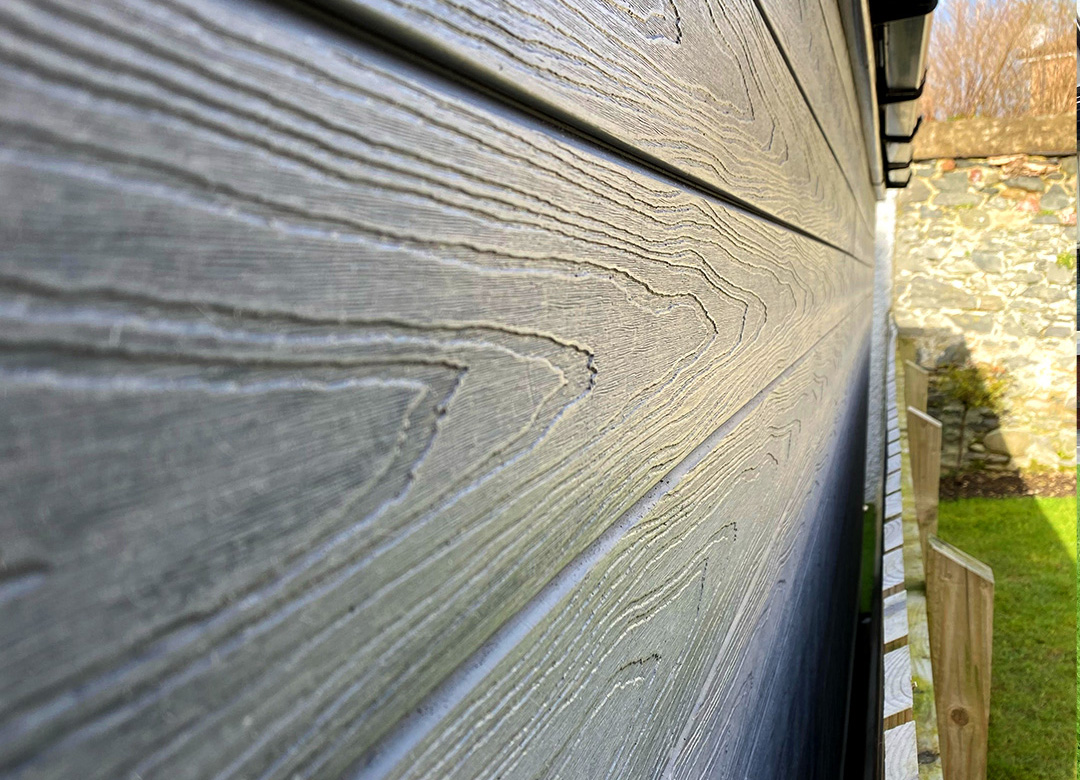
Composite cladding boards are the perfect choice if you want to refresh your facade and make it stand out from standard solutions. Composite boards have all the benefits of wooden boards but do not require maintenance, are more durable, and are resistant to weather conditions and mechanical damage. You will surely achieve the desired effect. Additionally, their installation is really easy. Discover why choosing composite boards for your facade is worth it.
Use of Composite Cladding Boards
There are different types of composite boards. Based on their intended use, composite boards can be categorized into decking boards, fencing boards, and cladding boards, which are the focus of this article. They are primarily used for facades — you can install them on the entire facade or just a part of it. They can also be used for designing small garden architecture.
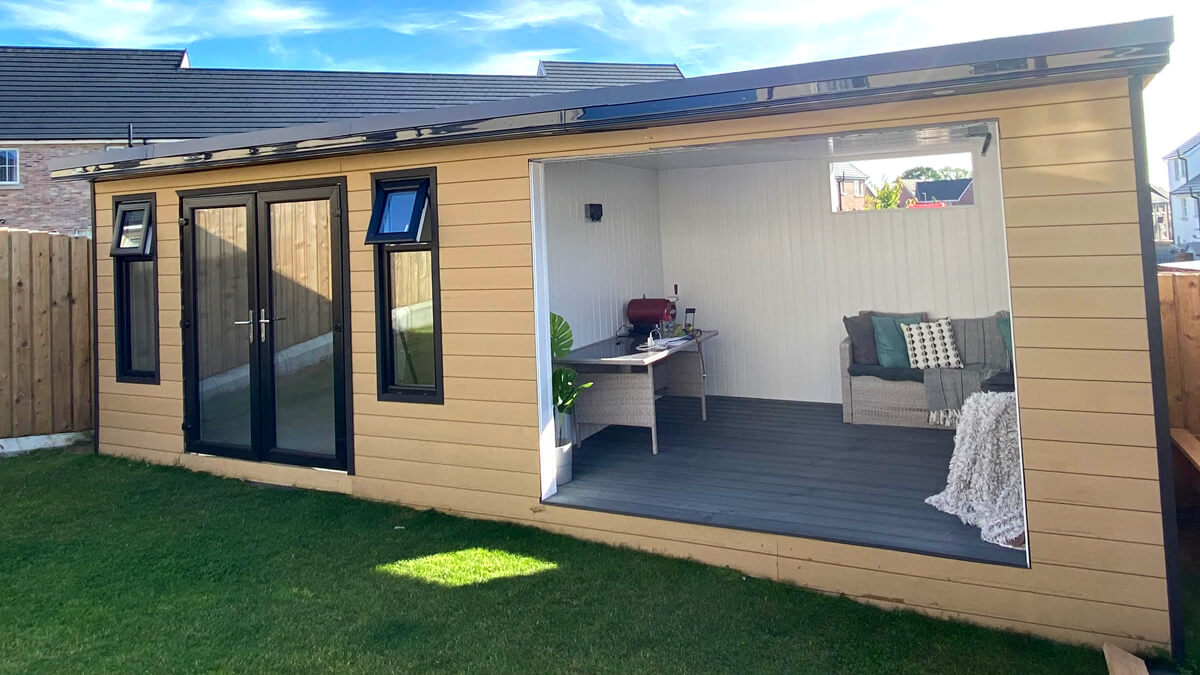
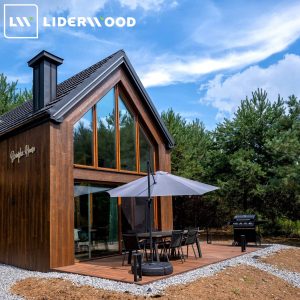
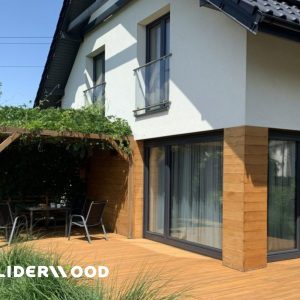
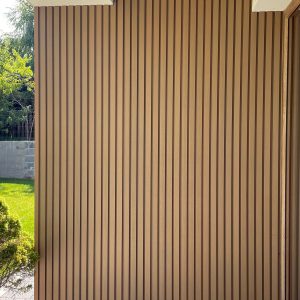
Facade board Standard in Honey Teak (photo: Liderwood customer)
Composite Cladding Board – Advantages
Unlike wood, composite boards do not require impregnation or maintenance. Thanks to the combination of wood flour, high-density polyethylene (HDPE), UV additives, stabilizers, and colorants, they are resistant to adverse weather conditions, rotting, decay, and insects.
The Premium composite cladding board also features a special polymer coating that protects against color fading, stains, and abrasion.
How to Install a Composite Cladding Board Facade
The installation of a composite cladding board facade is simple and intuitive.
Step 1: Ensure the Substrate is Properly Prepared
The substrate should be even, flat, and stable.
Step 2: Prepare All Necessary Materials
- Cladding boards
- Clips
- Joists
- Appropriate tools
Step 3: Install the Joists
Lay the joists at intervals — the maximum distance between joists should not exceed 500 mm. Leave a 10 mm expansion gap between the joists and the ground. First, drill holes in the joist and the wall to ensure the holes align during installation. Attach the joist to the substrate using quick-mount dowels.
Step 4: Install the Starter Clip
Drill a hole in the center of the joist. Mount the starter blocking clip 15 mm from the edge of the joist using the provided screws.
Step 5: Install the First Board
Insert the first board into the starter clips. Screw the board into the joists using screws, after pre-drilling holes in the composite board and the joists.
Step 6: Install the Remaining Boards
Lay the remaining boards on top of each other and screw them in place. The screws will be hidden from view.
Step 7: Install the Finishing Trims (Angle Trims)
Remember to pre-drill the joists and trims to prevent cracking.
You can download the detailed installation guide here.
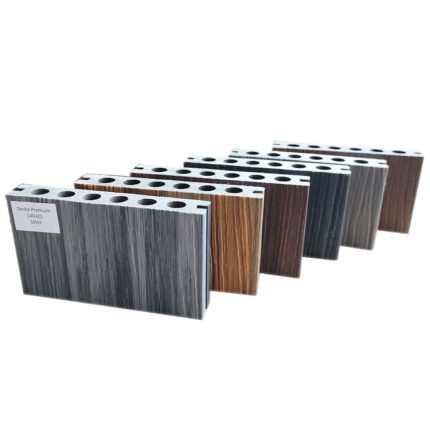
Cladding Boards in the Liderwood Range
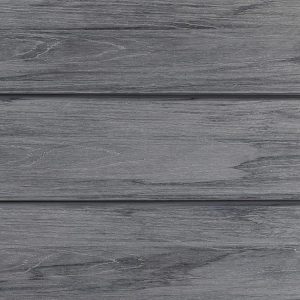
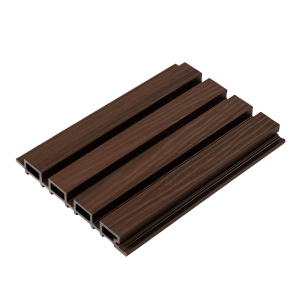
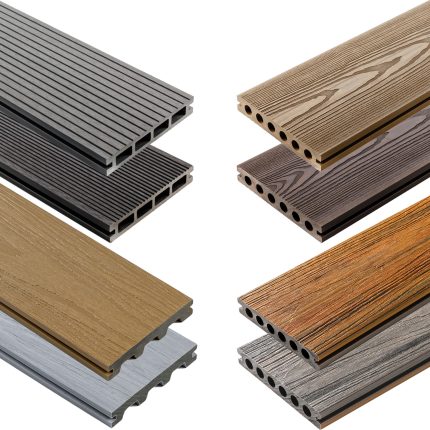
Premium II generation cladding boards
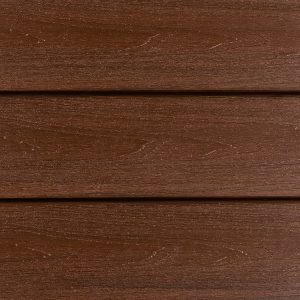
- Premium Redwood
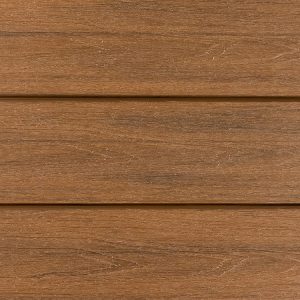
- Premium Teak
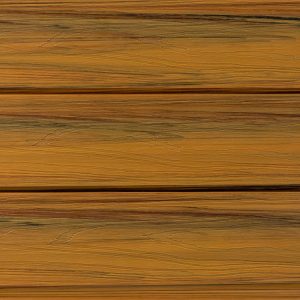
- Premium Amber
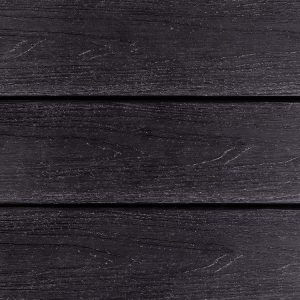
- Premium Antracyt
- Premium Gray
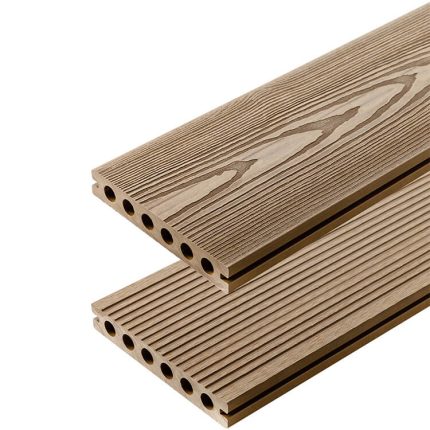
Premium composite boards have a wood grain pattern and a polymer coating, which further protects them from colour loss, abrasion and stains.
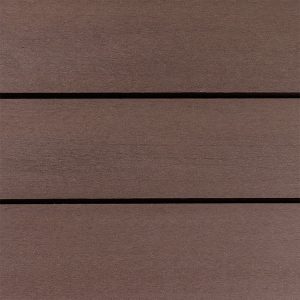
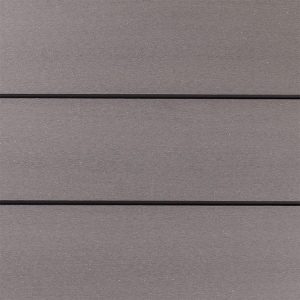
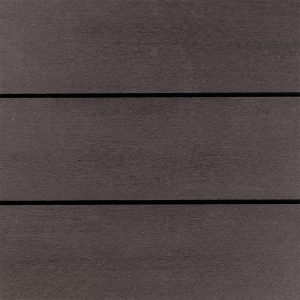
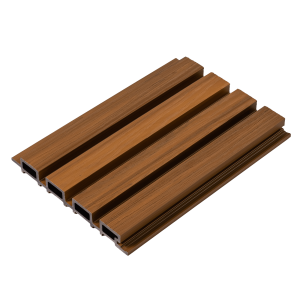
Cladding Board Standard
- Standard Miodowy Teak
- Standard Brąz
- Standard Jasny Szary
- Standard Antracyt
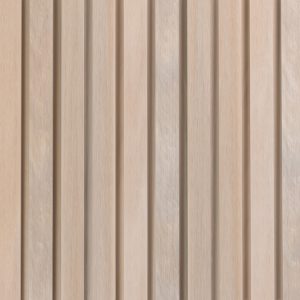
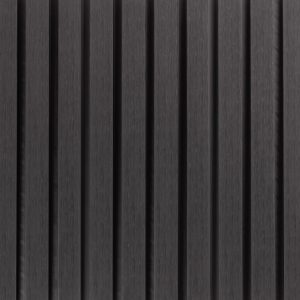
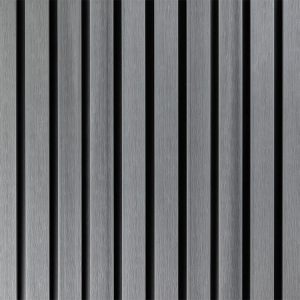
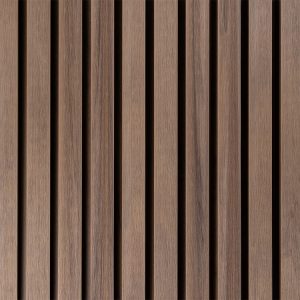
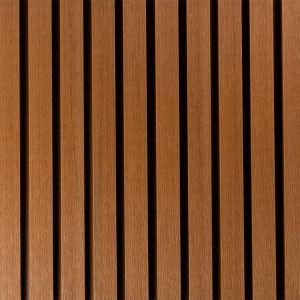
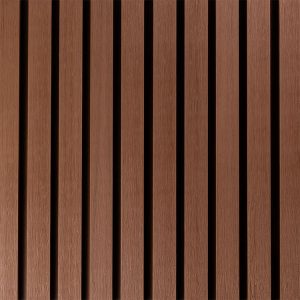
Our range also includes lamella boards, which have recently been gaining a lot of popularity. Like the Premium cladding boards, the lamellas feature a polymer coating that protects them from color fading and staining. Lamella boards offer an eye-catching and unique way to finish your facade. They are available in 8 different colors: ecru, graphite, gray, antique, teak, redwood, amber, and walnut. The Amber and Walnut lamella boards are 3D, distinguished by their wood grain pattern.
Slatted Cladding Board Premium
- Ecru
- Graphite
- Gray
- Antique
- Teak
- Redwood
Slatted Cladding Board Premium 3D
- Walnut
- Amber
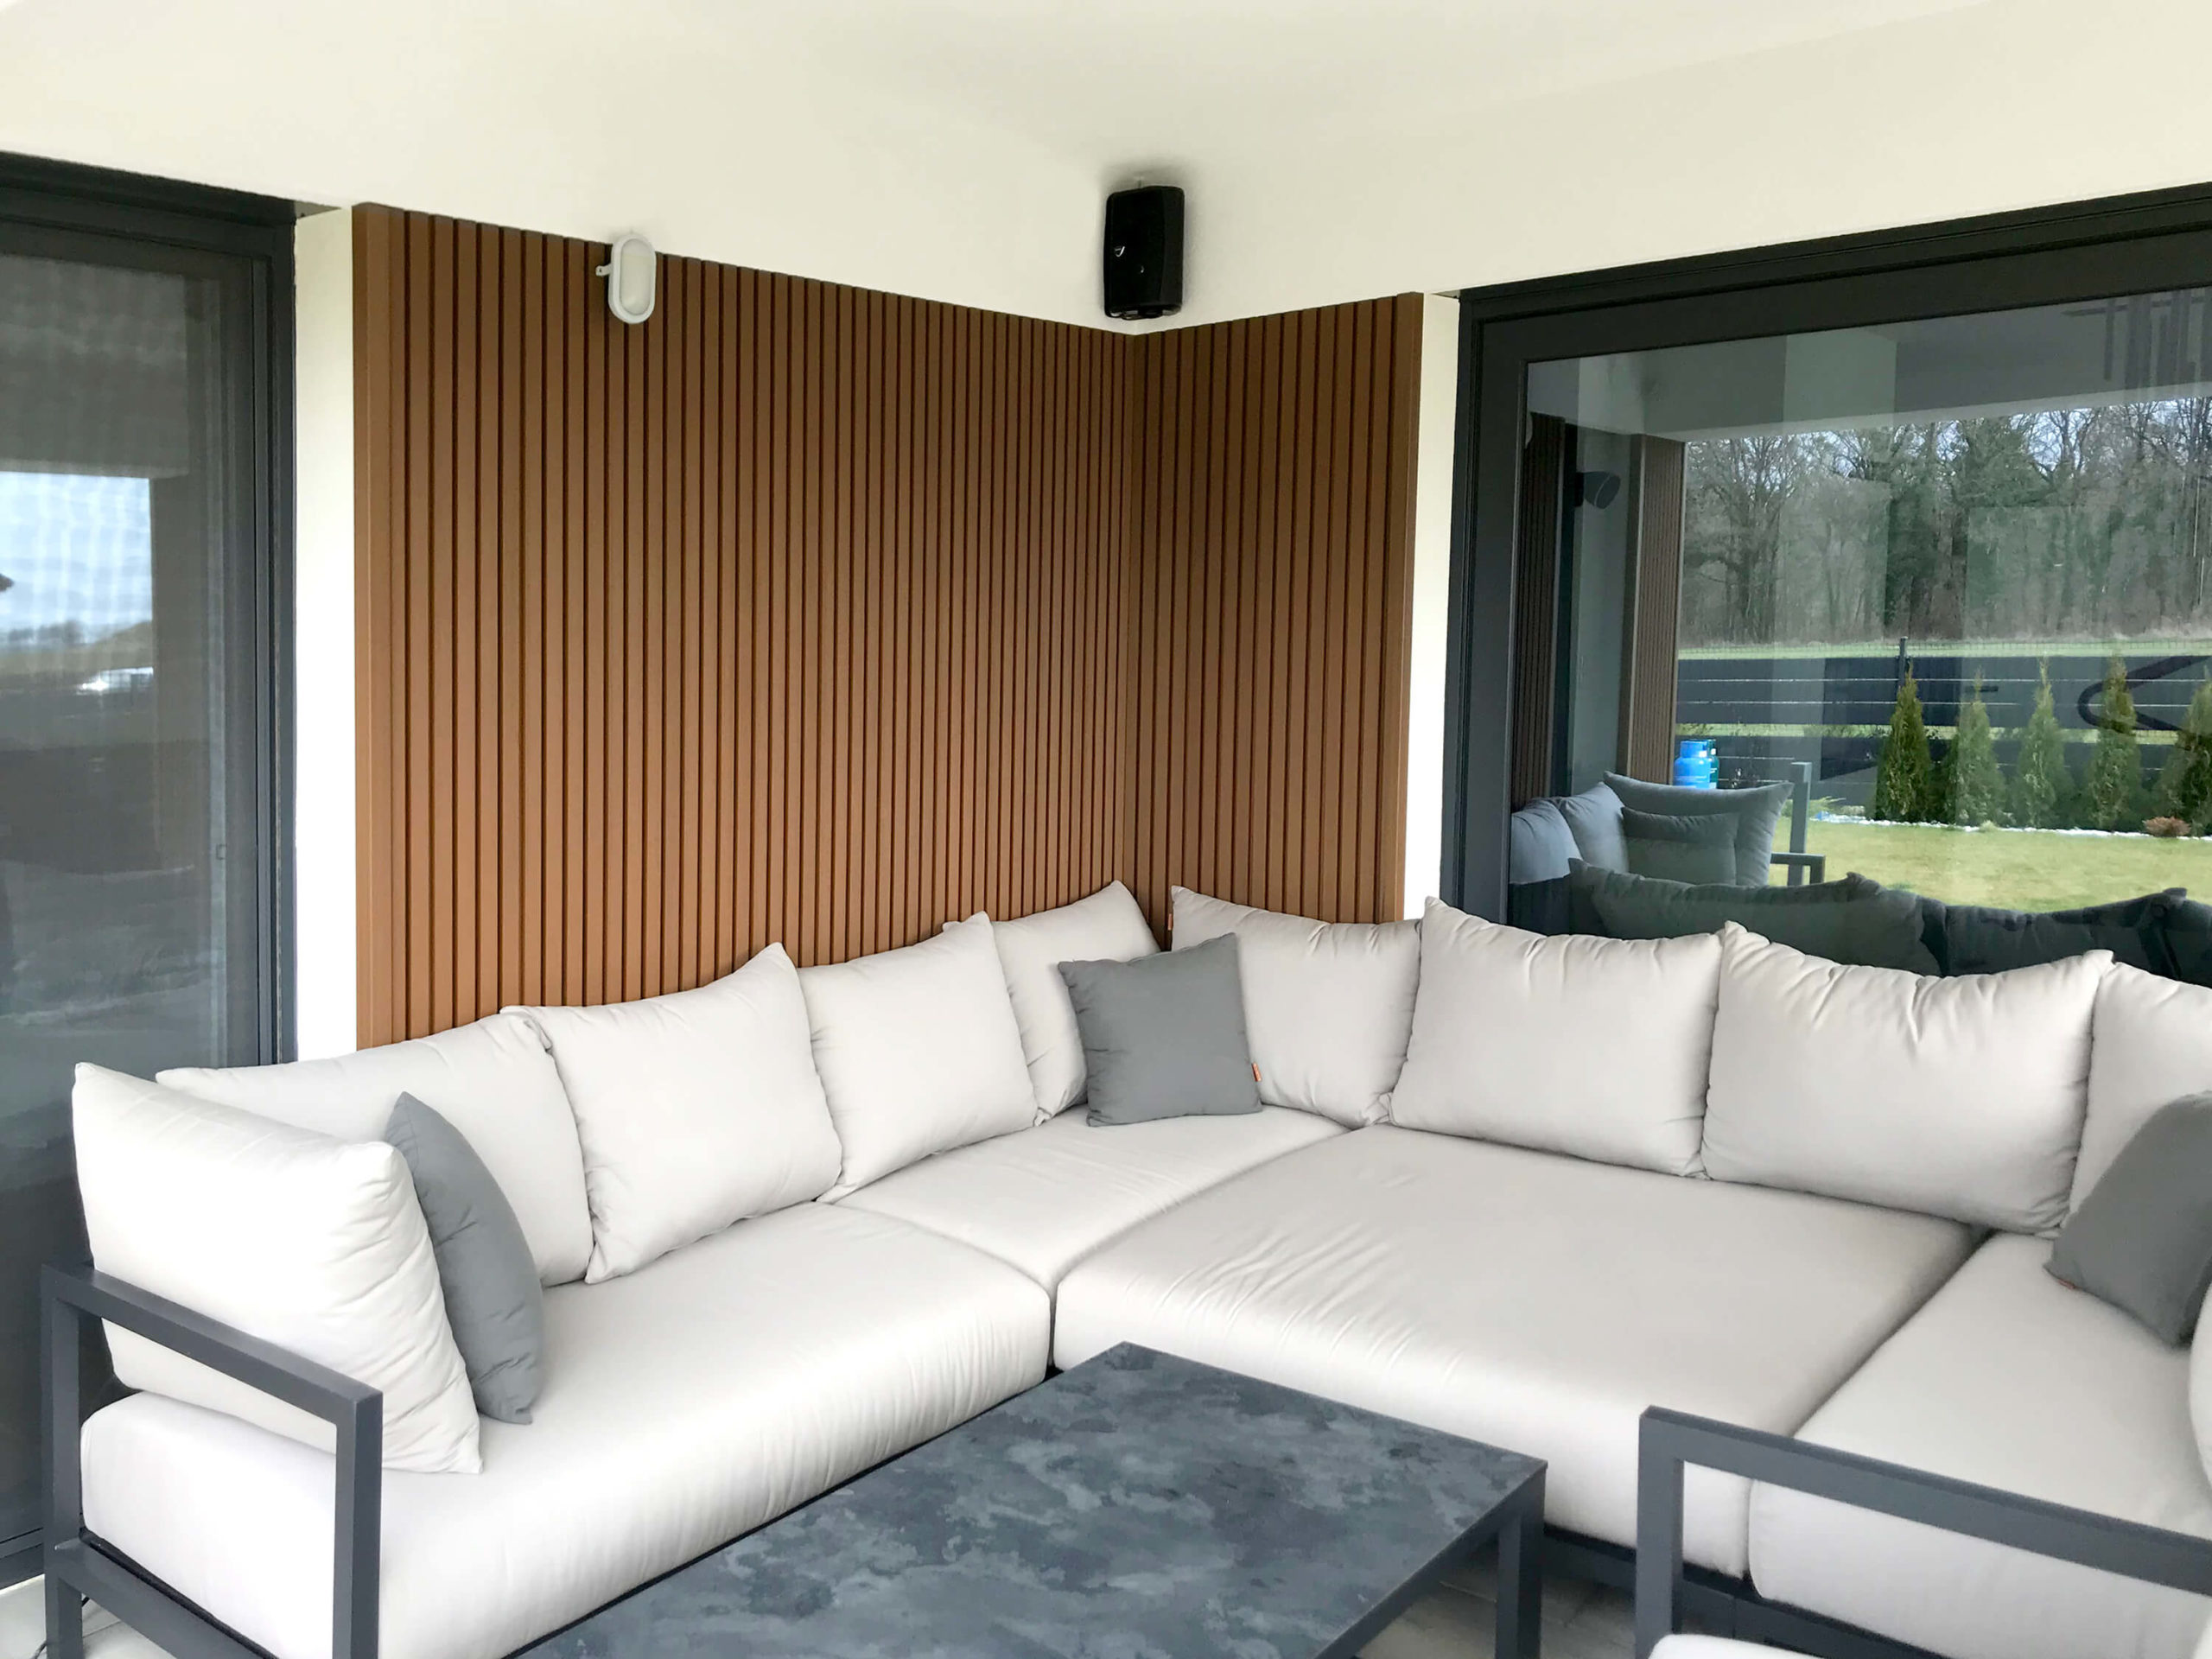
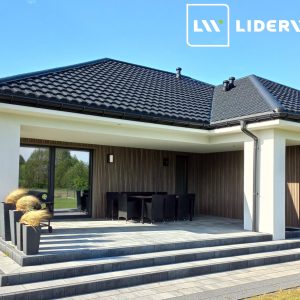
Cladding Lamella Board in Teak Color (photo by Liderwood customer)


