Top Reasons to Install Your Terrace on Adjustable Pedestals
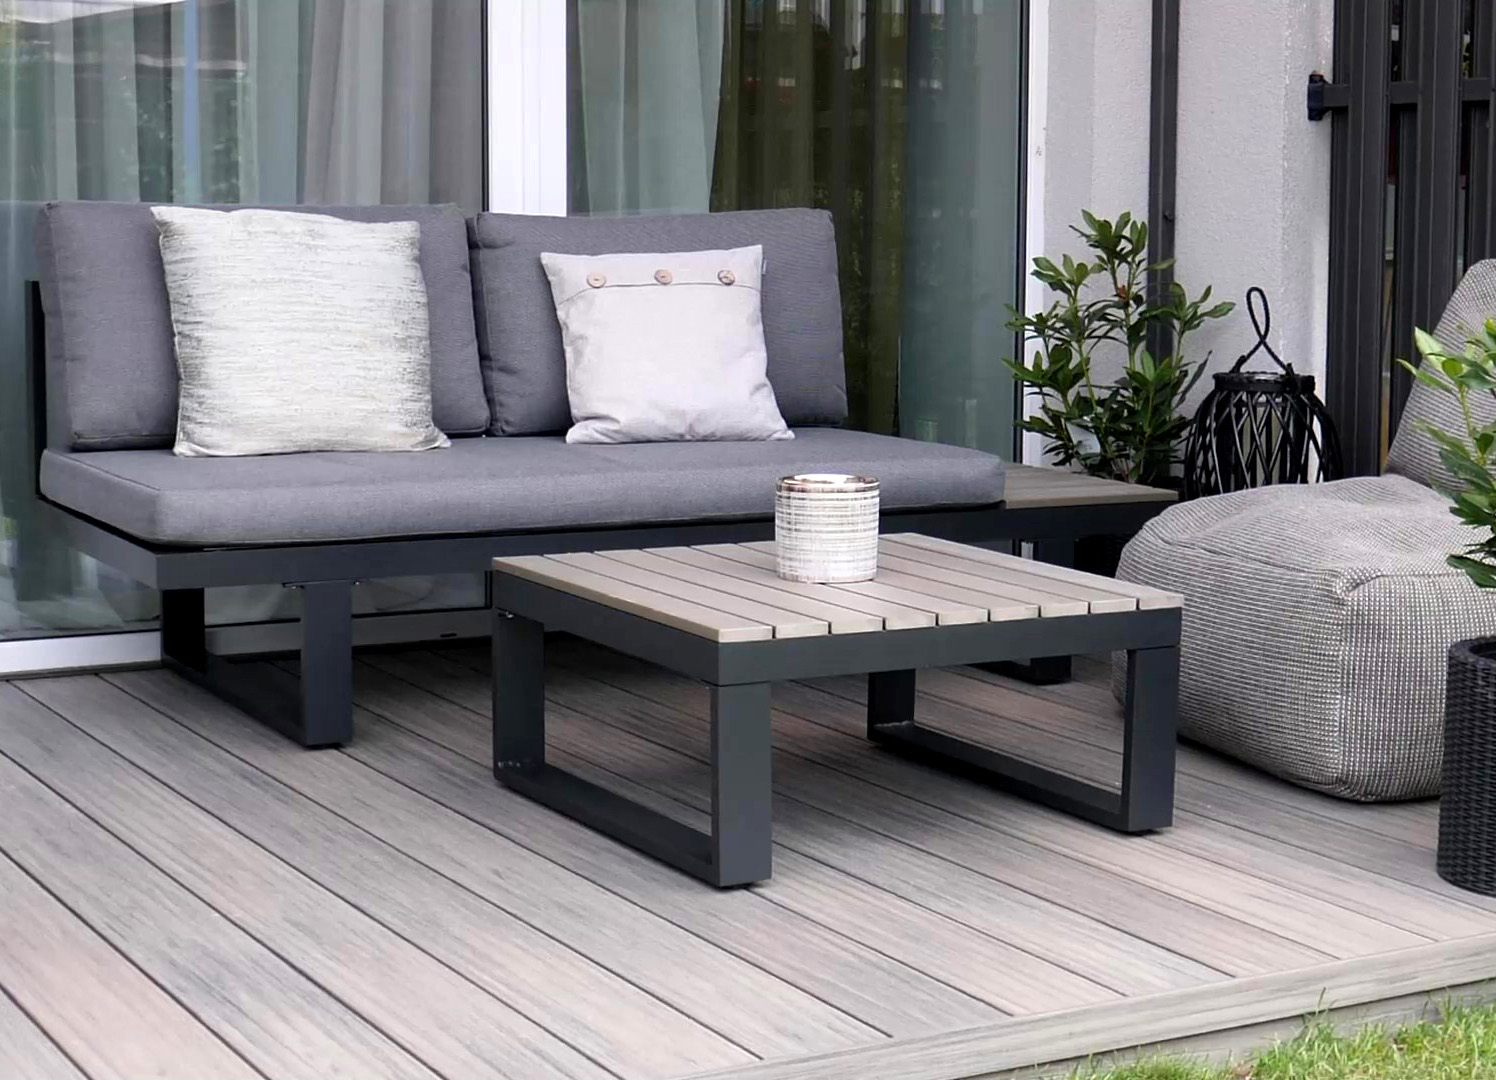
The beginning of March, spring is approaching quickly, and you’re thinking more and more about spending time outdoors. How about creating your own space where you can relax, spend time with loved ones, and enjoy the fresh air? That place could be your terrace – and building one doesn’t have to be difficult.
Decking boards cannot be directly attached to the ground, so joists must be laid underneath them. The base should be stable, level, and flat, with a slight slope. But what can be done if the terrace would be too low or the base doesn’t meet the above requirements? What should you place under the joists?
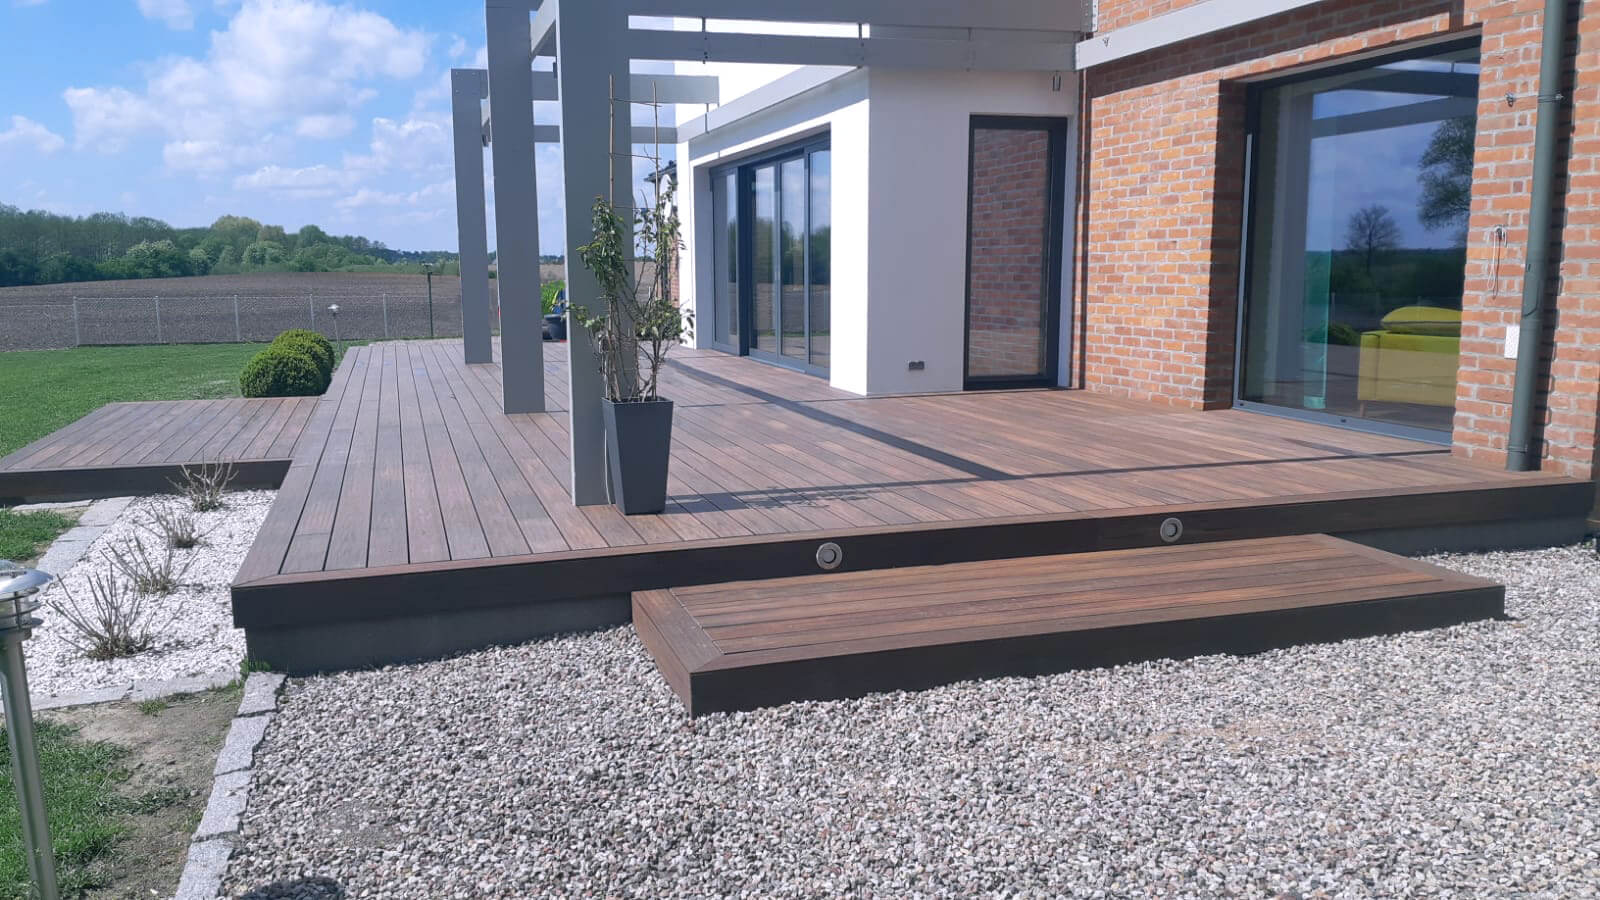
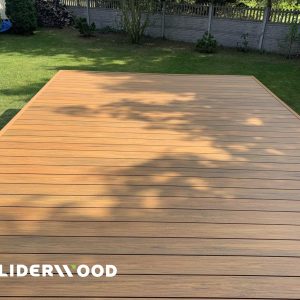
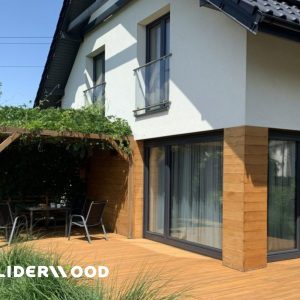
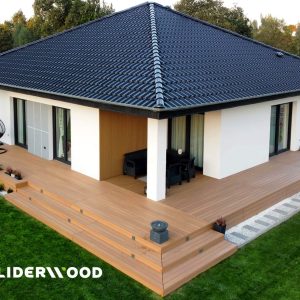
Decking made of WPC Board Ecotravers Redwood (photo: courtesy of Liderwood’s customer)
There are several ways to install a terrace on joists. One method growing in popularity is the installation on terrace pedestals, thanks to its convenience, speed, and ease.
What are the advantages of installing composite decking boards on adjustable pedestals?
Installing a terrace on adjustable pedestals is a great solution because it allows for:
- Smooth height adjustment – you can set the height to your preference (e.g., match the door threshold) and compensate for uneven ground (adjustable range: 18-220 mm)
- Creating a slope at the right angle, allowing water to drain freely
- Easy installation
- High durability – like the joists and composite boards, the pedestals are durable and resistant to adverse weather conditions, acids, alkalis, and UV radiation.
What do you need to install a terrace on pedestals?
- Composite joists, 30 x 50 mm
- Leveling disks – these compensate for ground slopes of 1-3%
- Rubber pads under the joists – they absorb vibrations and quiet the terrace
- Decking boards and masking trims (straight and corner)
- Mounting clips
- Proper tools
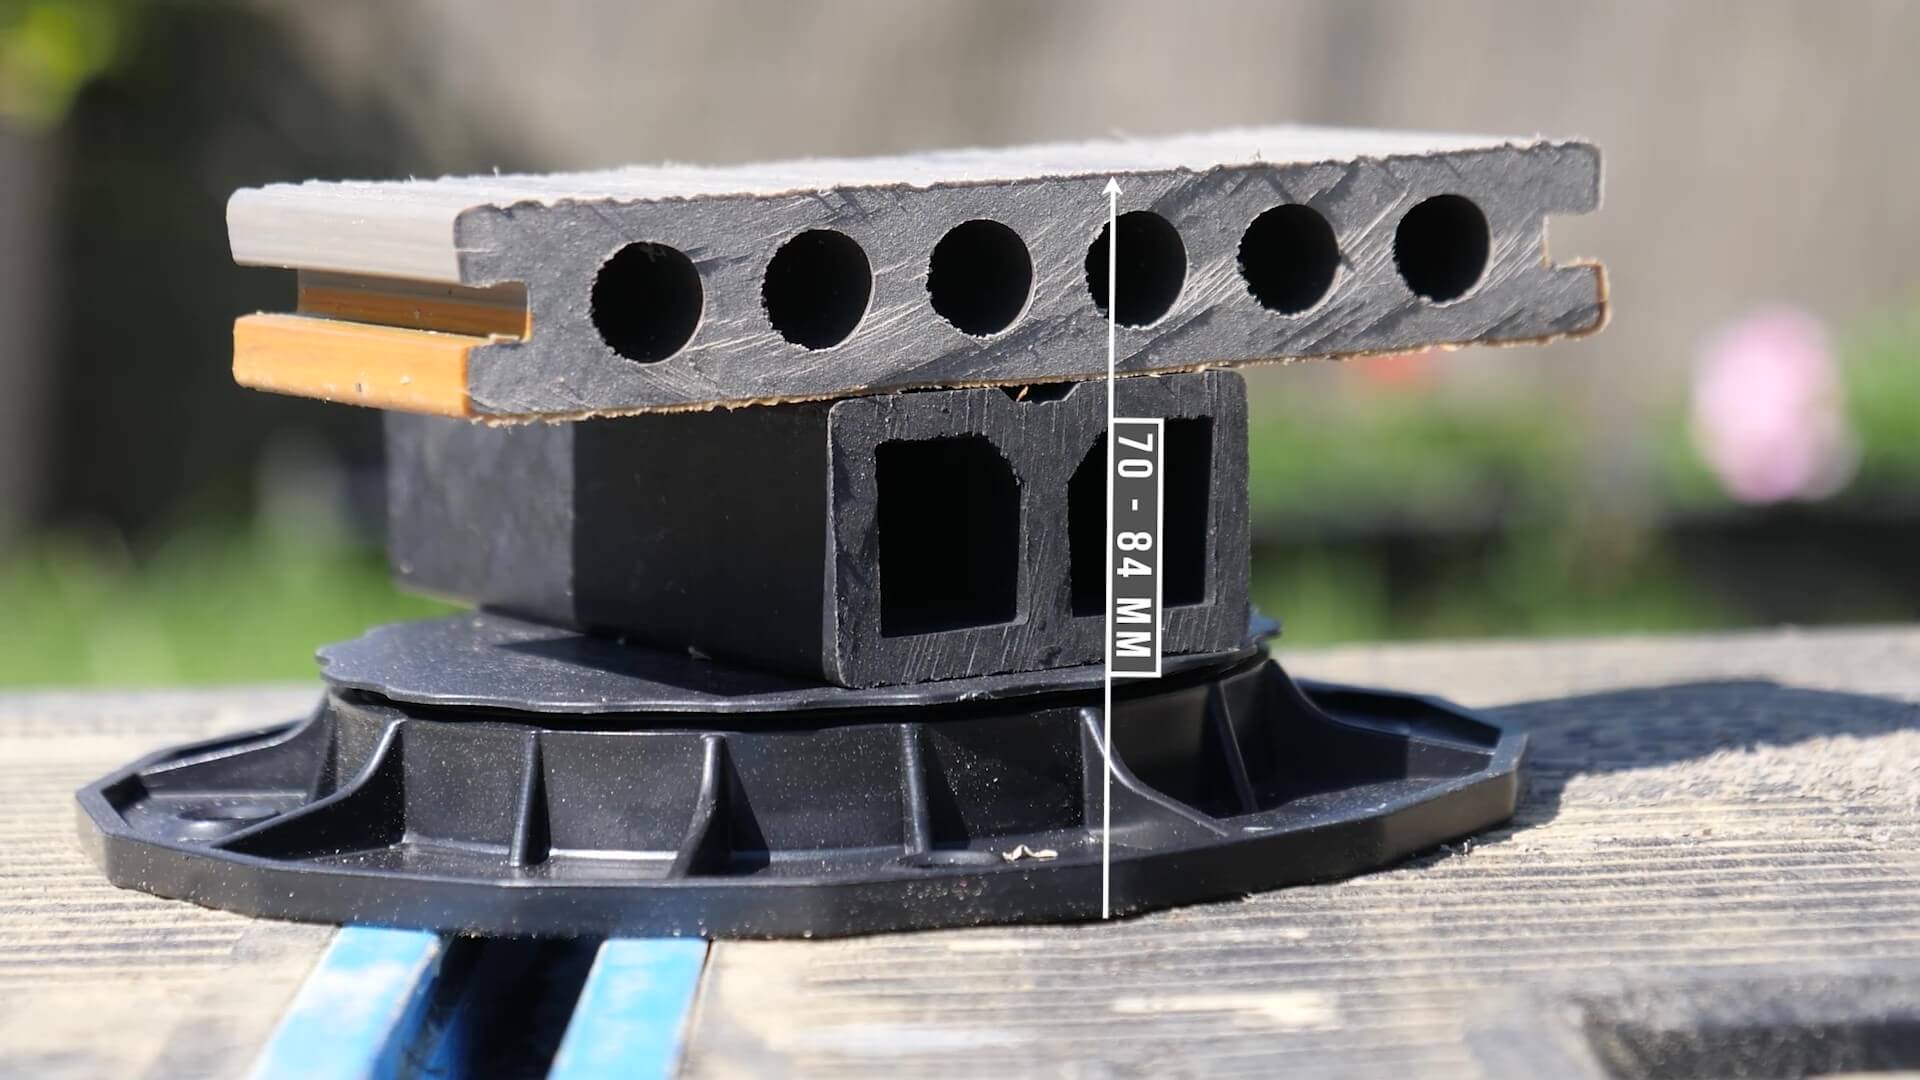
Cross-section of a composite board laid on a joist and adjustable support (photo: Mario Budowlaniec)
What do pedestals, joists, and decking boards look like? We offer four terrace pedestals for joists, each with a different adjustment range:
-
- 18-32 mm
- 35-70 mm
- 66-145 mm
- 140-220 mm
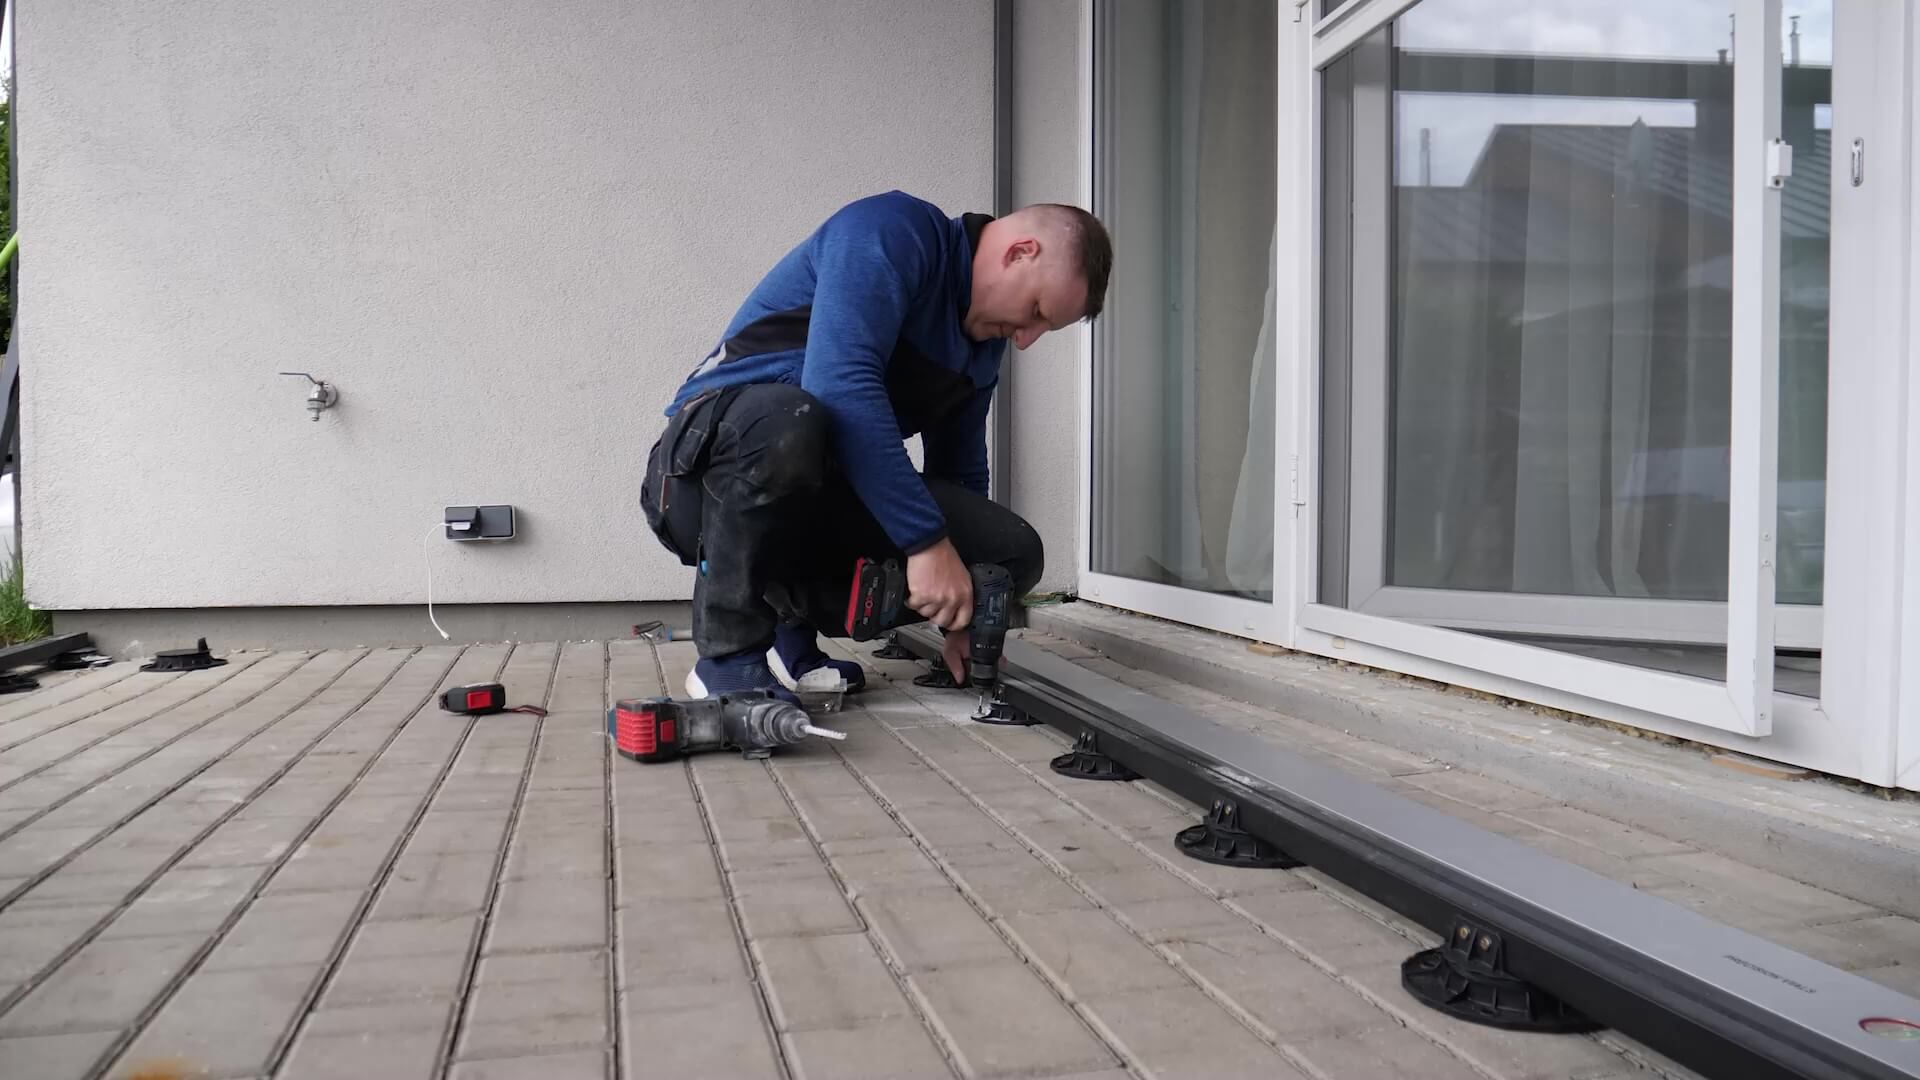
Fixing the pedestal to the ground (photo: Mario Budowlaniec)
The joists are laid on pedestals attached to the ground, with the height appropriately adjusted. Each joist should be supported at least in three places (spacing between centers should not exceed 40 cm). The spacing depends on the thickness of the boards – the distance between joists should be 25 to 35 cm.
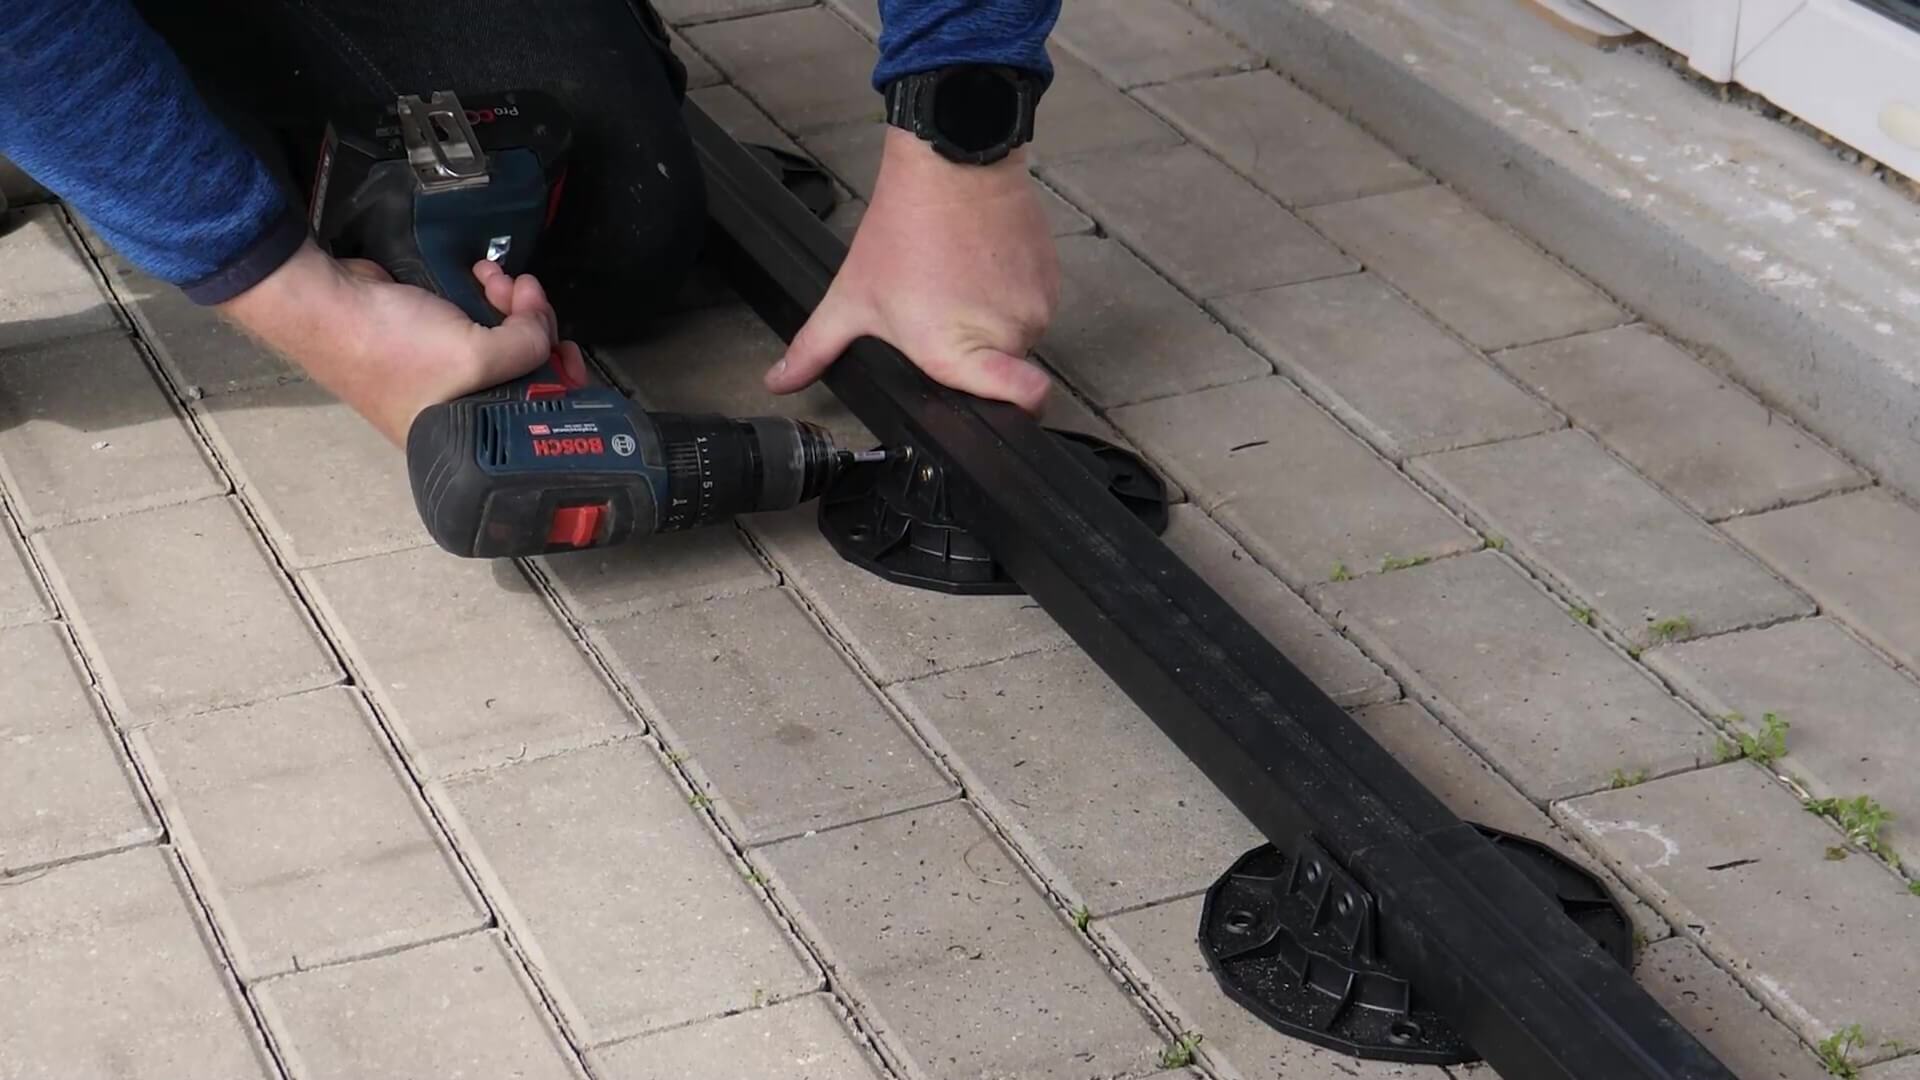
Screwing the joist to the pedestal (photo: Mario Budowlaniec)
The ground slope should be neither too large nor too small – it should be 0.5%, or 1 cm per 2 meters, sloping away from the building walls. With this kind of structure, any terrace will be solid and durable, so it’s important to follow the installation instructions carefully.
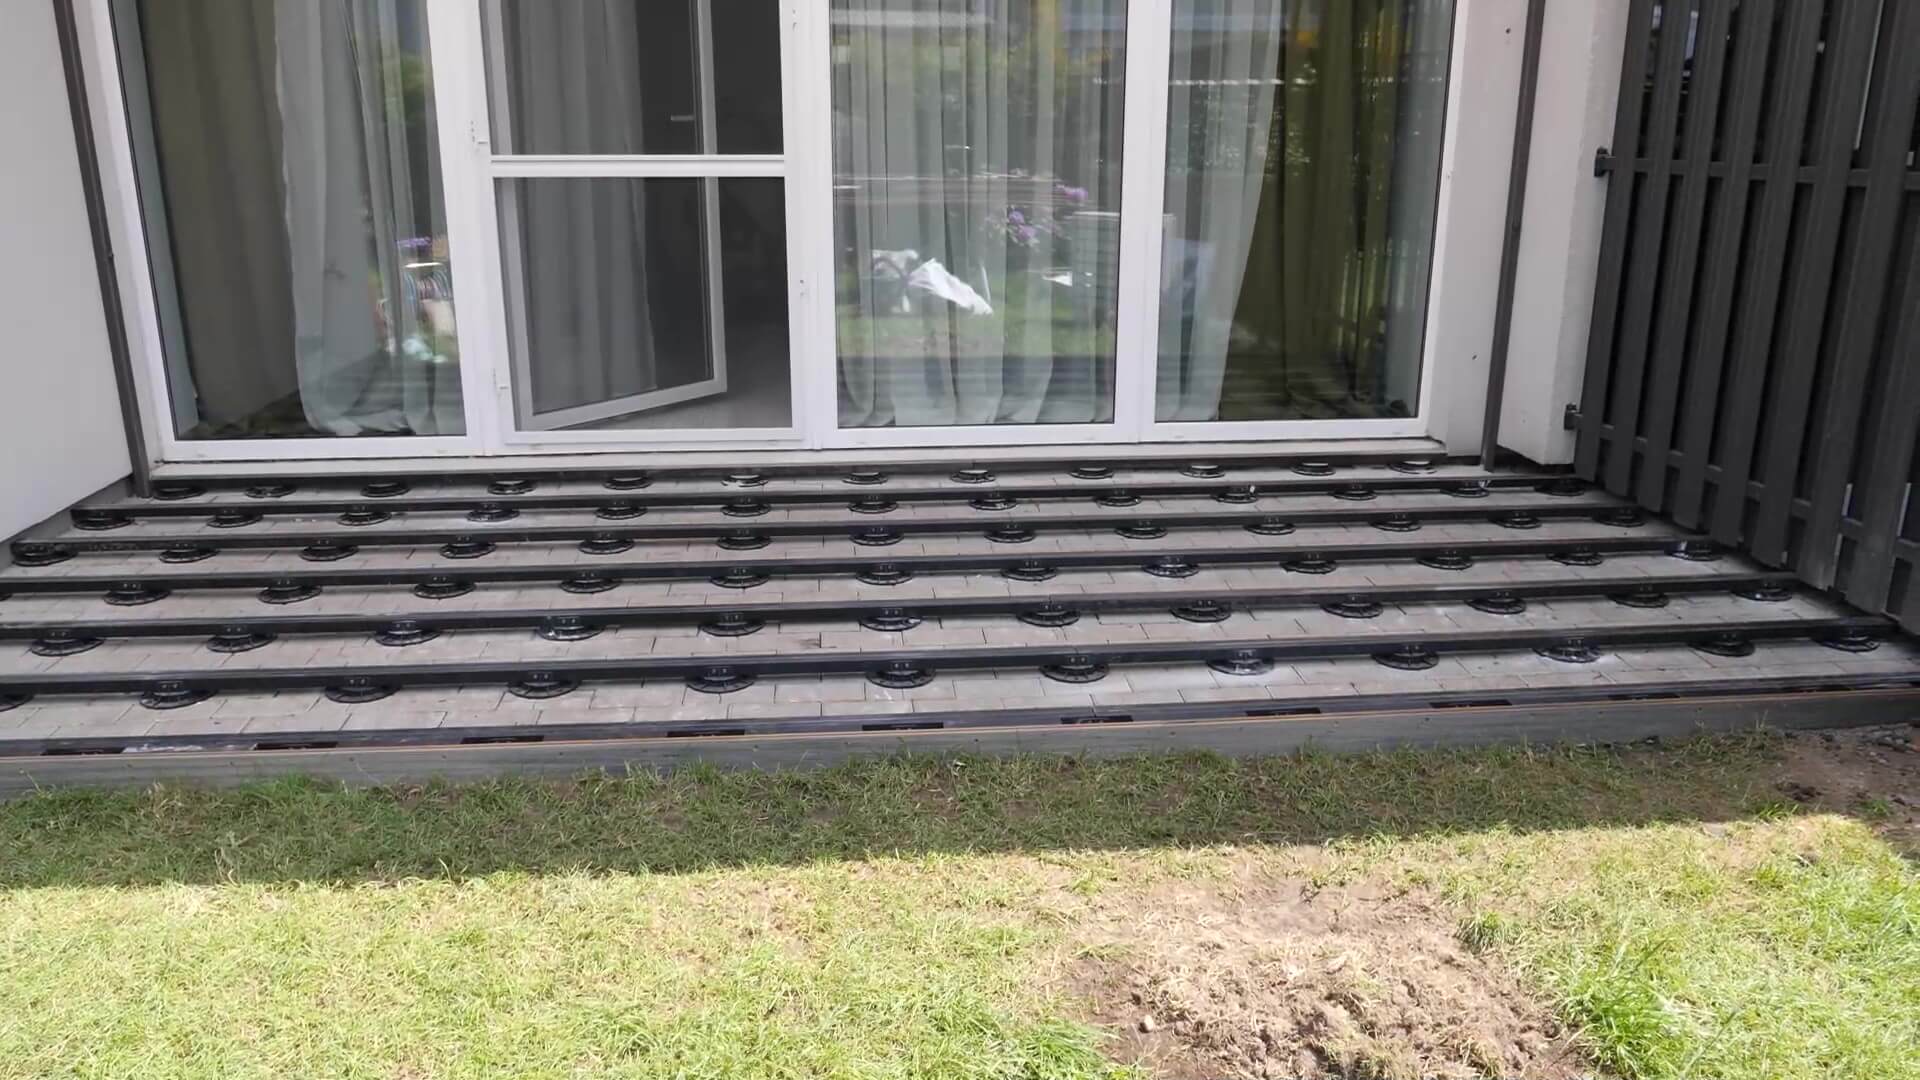
Structure made of brackets and joists for a composite decking (photo: Mario Budowlaniec)
Final effect:
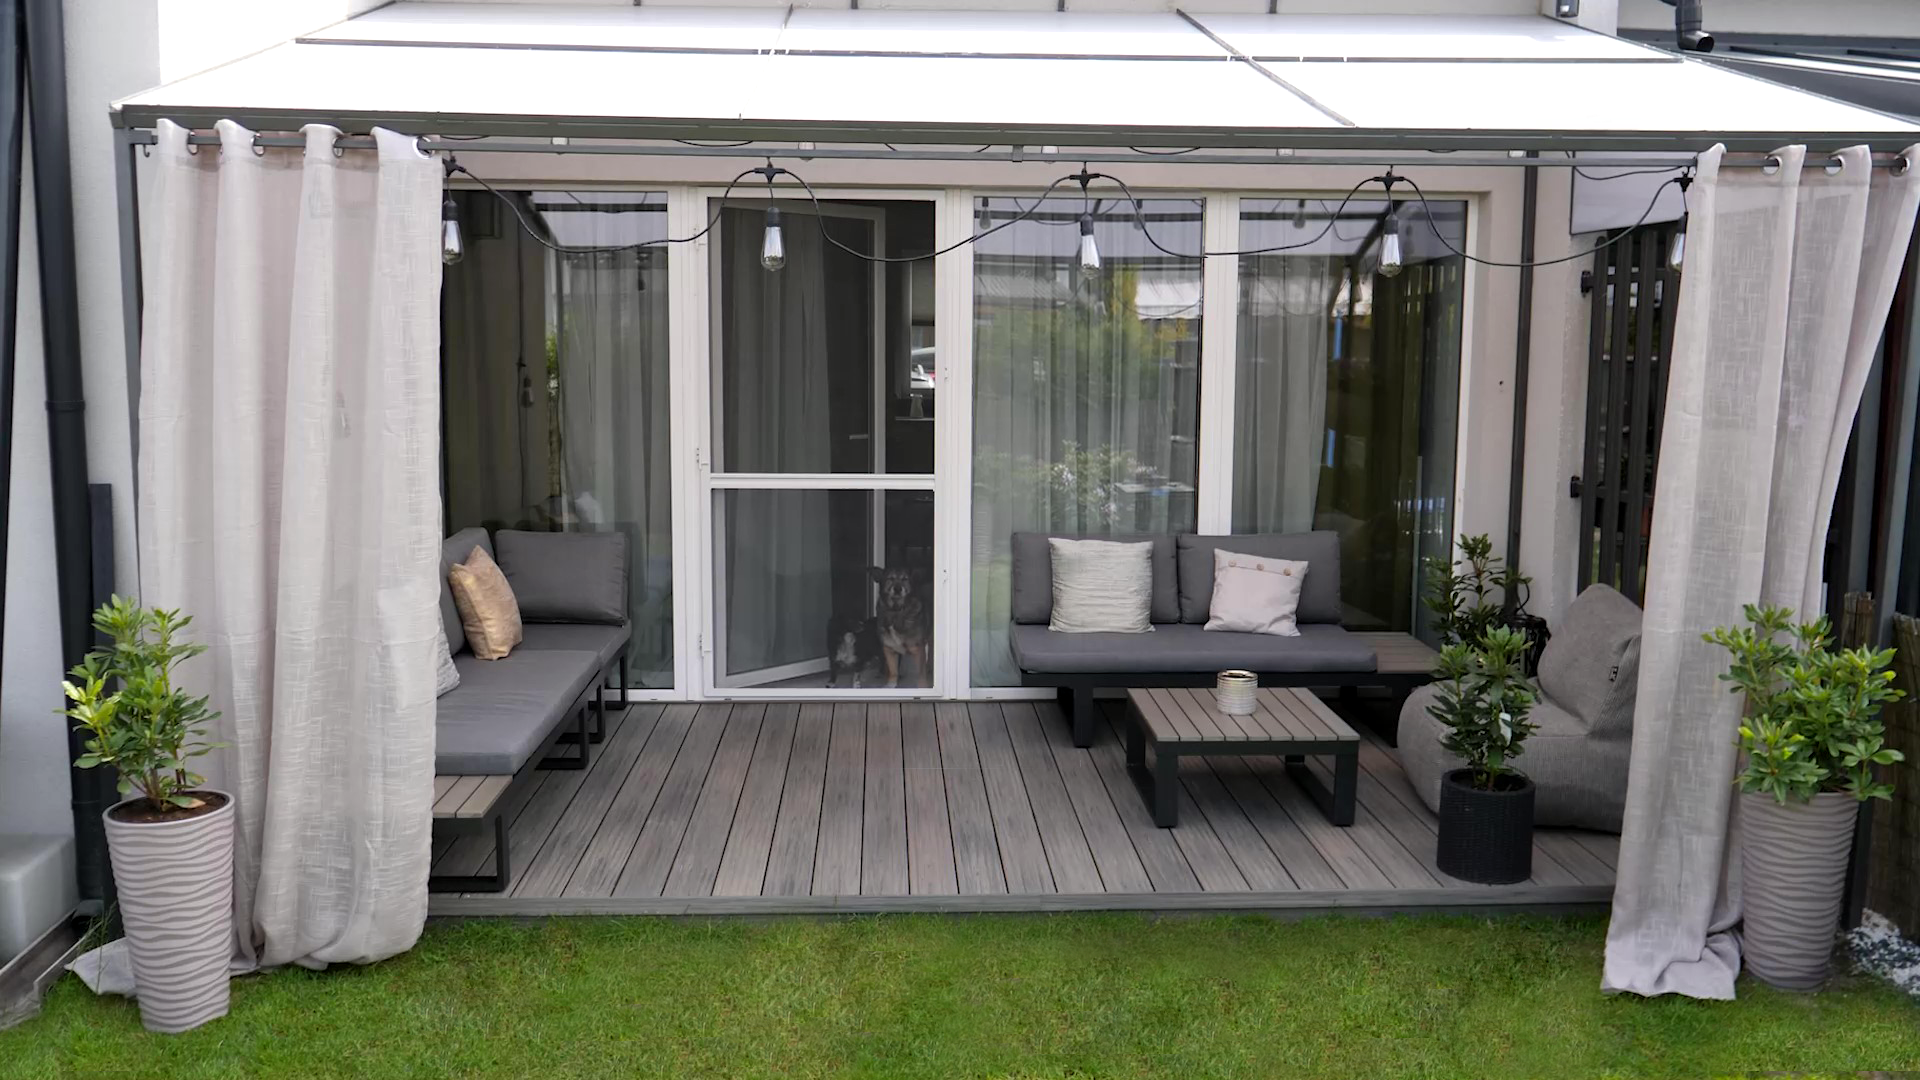
Terrace made of Ecotravers WPC Board Premium Antique (photo: Mario Budowlaniec)
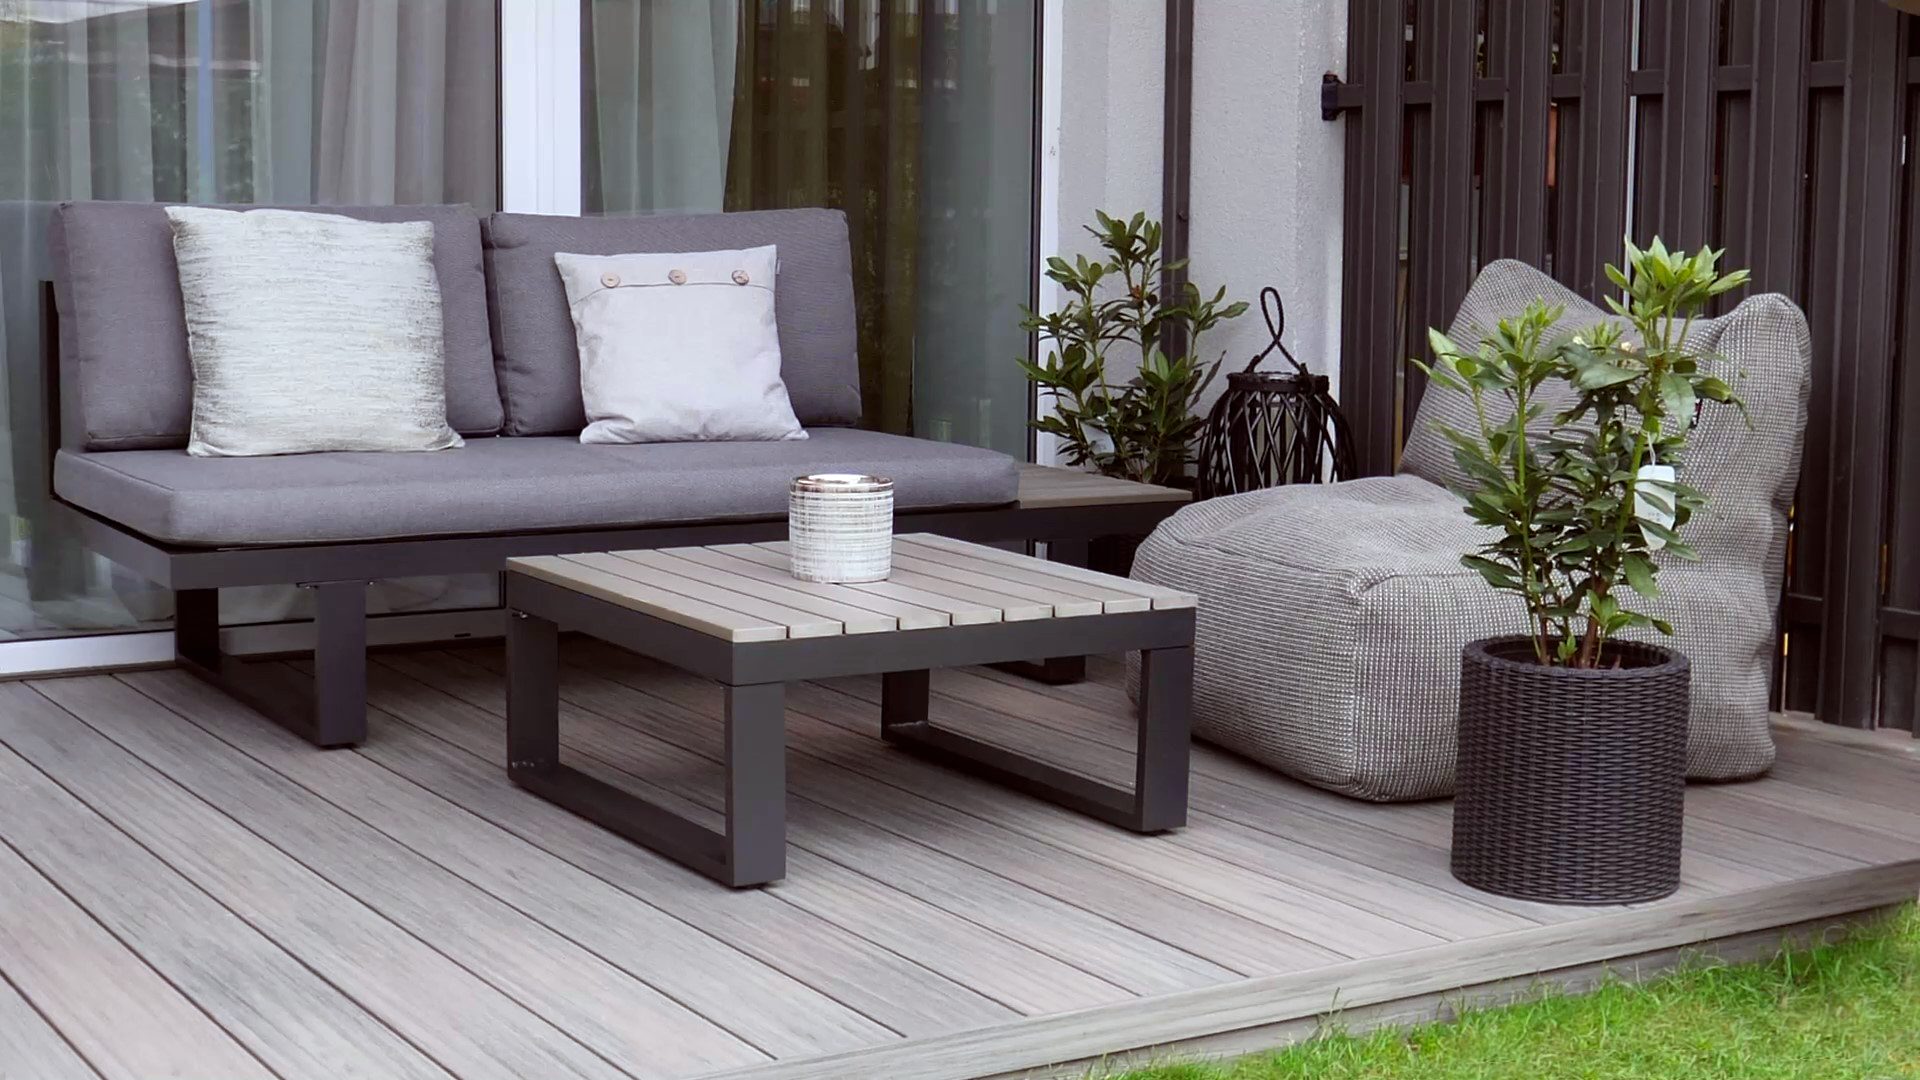
Terrace made of Ecotravers WPC Board Premium Antique (photo: Mario Budowlaniec)
We also offer adjustable pedestals for terrace slabs (including self-leveling ones). Slabs laid on pedestals and dedicated pads are more stable. Additionally, they are as durable as the terrace pedestals for joists and also adjustable but are designed for slab terrace installation.
We wish you a successful project!
Watch the video by Mario Budowlaniec for instructions on how to install a terrace using our composite decking boards – exactly the one shown in the photos above.


