


Supporting the local community – donation to the Volunteer Fire Department in Mrzezino
We support the local community – donation to the Volunteer Fire Department in Mrzezino
On December 5th, we had the honor...


In stock
Total: 20,47 €
Application:
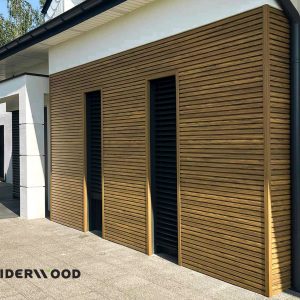
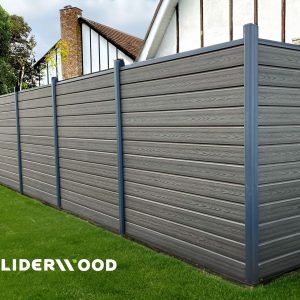
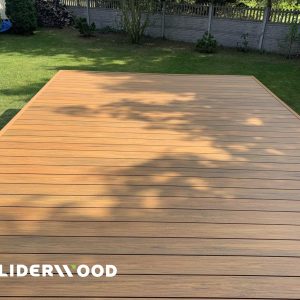
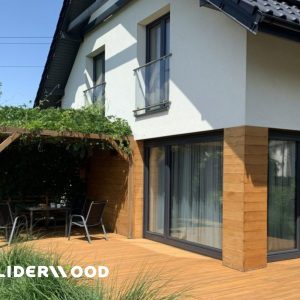
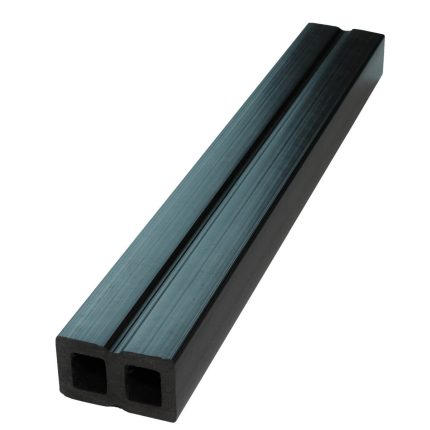
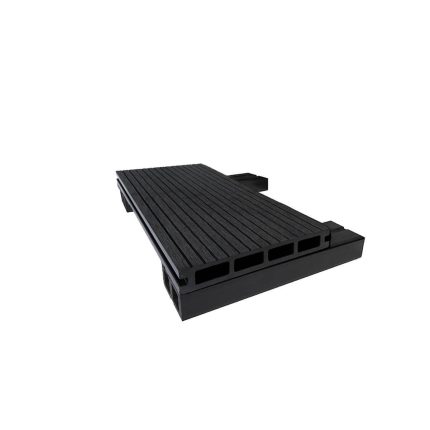
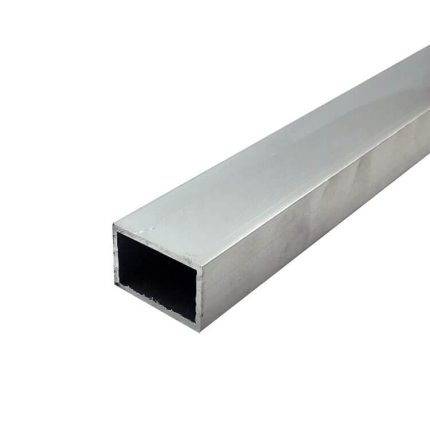
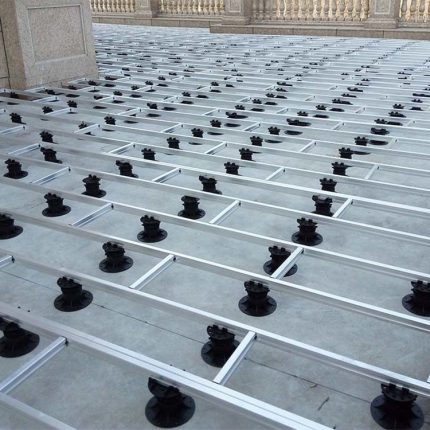
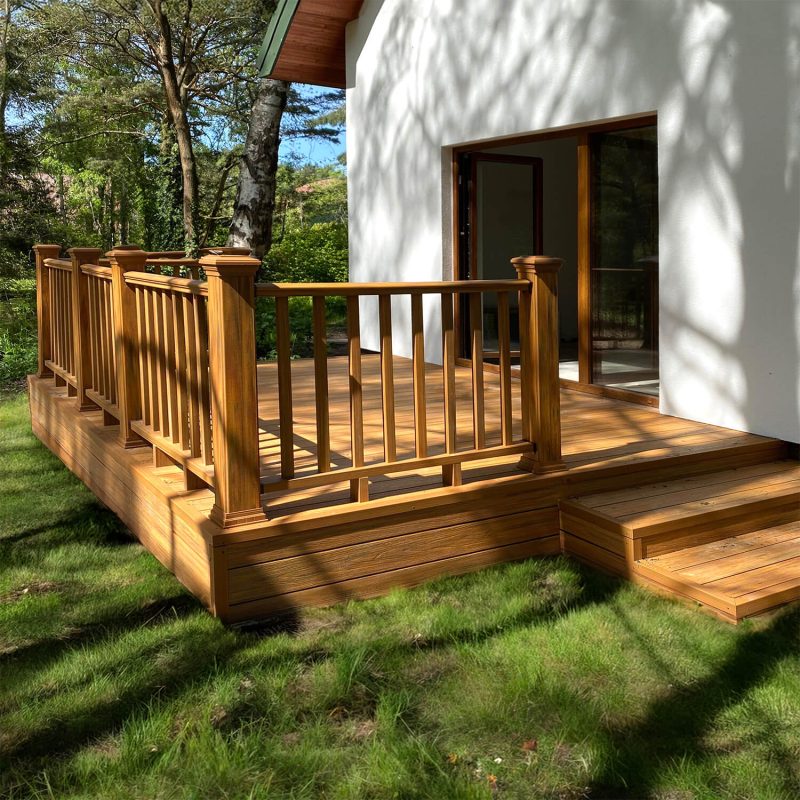
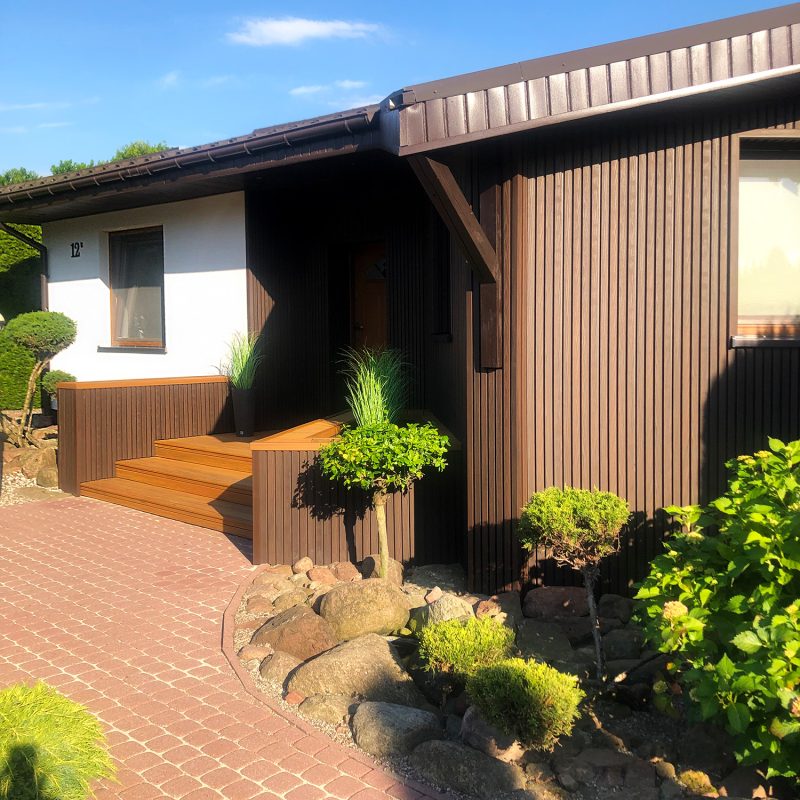
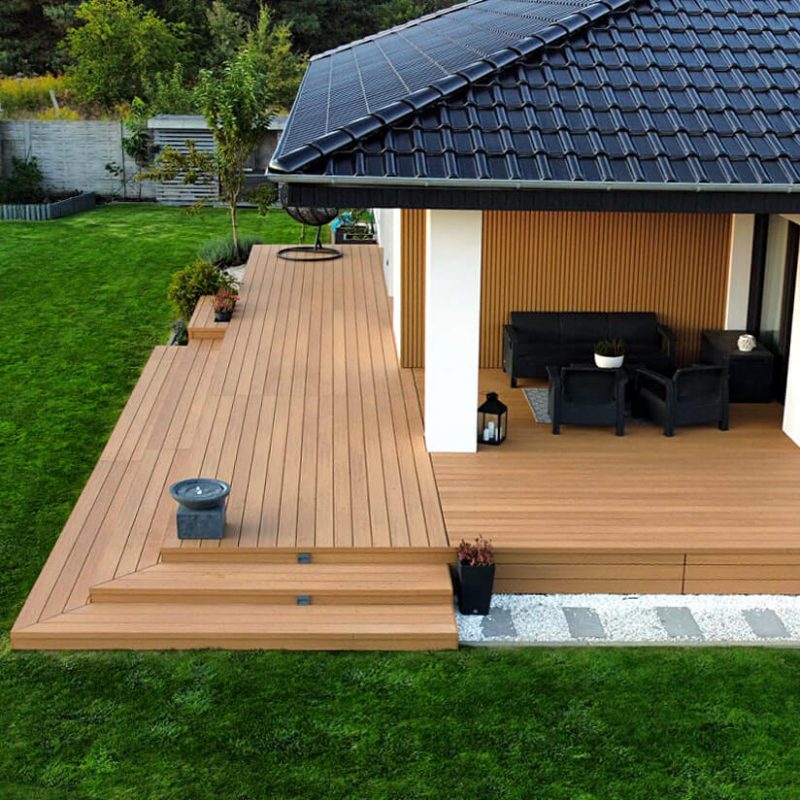
They are essential for connecting composite boards to joists on decks, balconies, paths, gazebos, and docks.
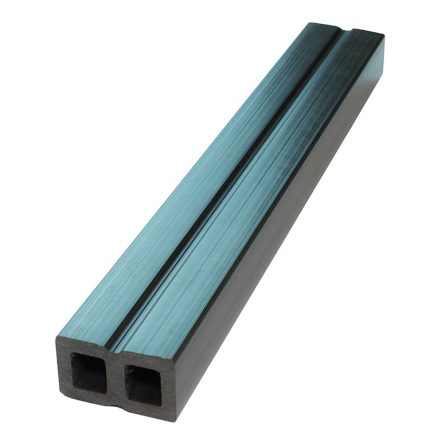
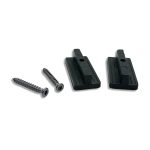
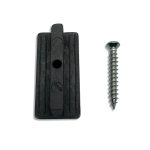
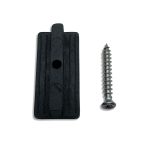
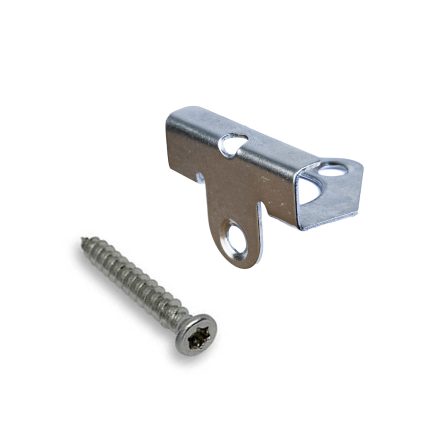
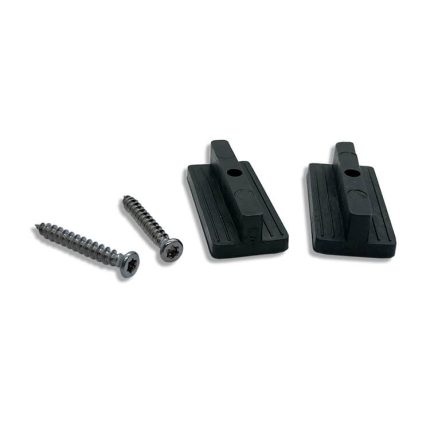
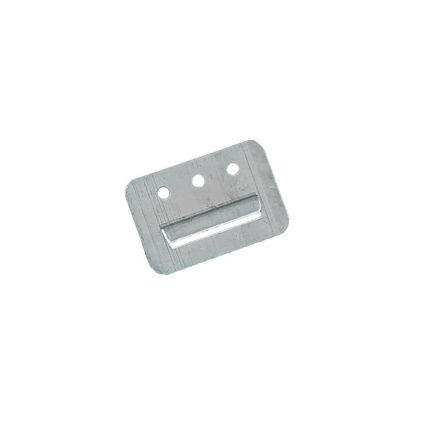
WPC mounting clips are designed to connect composite decking boards to the substructure. Made of durable plastic, they ensure fast, stable, and visually clean installation. The set includes 100 clips with 30 mm screws.
✅ Set of 100 clips with 30 mm screws
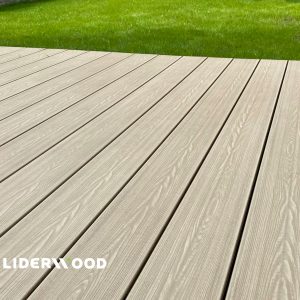
✅ Consistent gap between boards – 5 mm expansion space
✅ Universal fit for all decking boards from our range
✅ Quick and stable assembly
✅ Suitable for use with composite joists
The clips are fixed into the profiled groove of the board and then screwed into the joist. They provide a solid and uniform connection with no visible fasteners. This ensures a clean deck appearance and the proper spacing between boards.
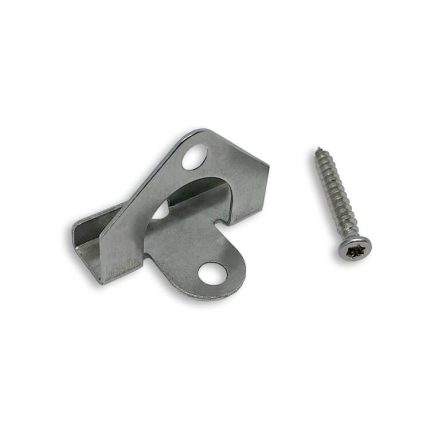
Mounting element for connecting composite decking boards to each other and to joists. An ideal choice for terraces, piers, garden paths, balconies, gazebos, and more.
| Weight | 1 kg |
|---|---|
| Dimensions | 3,8 × 1,9 × 1,3 cm |
| Intended use |
For decking boards |
| Amount of clips in the set |
100 |
| Screw included |
Yes |
| Material |
Plastic |
After installing the first board using the starter clip, you can proceed with installing the next boards using standard mounting clips.
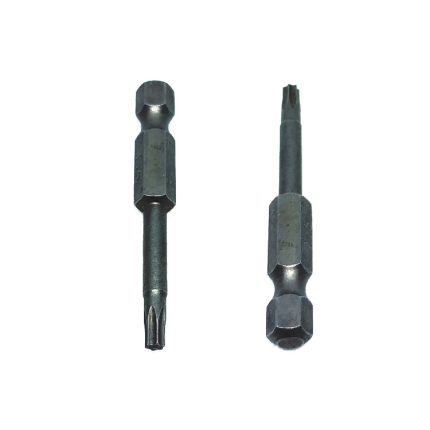
Pre-drilling the Joist
Before installation, the joist should be pre-drilled using a 3 mm metal drill bit – to approximately half of its depth. Skipping this step may result in faulty clip fixation and uneven positioning.
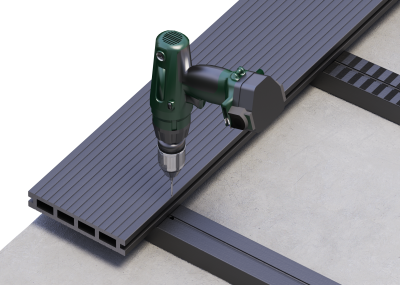
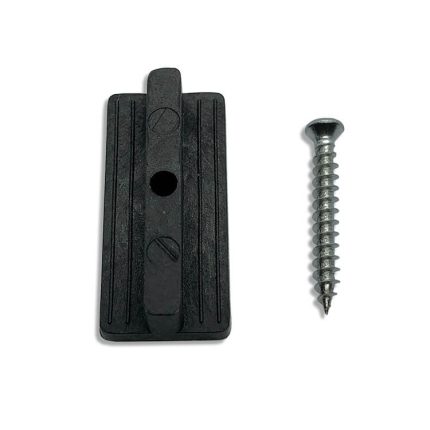
Clip Installation
The clip should be screwed into the joist using the provided screws. At this stage, the screw should not be fully tightened – leaving a bit of slack allows for precise positioning of the board.

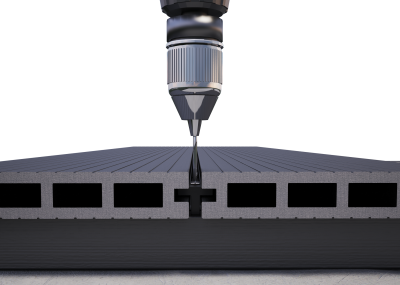
Installing the Next Board
The next board should be pushed against the previously installed clip so that it is properly secured. If necessary, gently tap the board into place using a rubber mallet. A minimum gap of 1 mm between the board and the clip’s foot is recommended – this allows natural expansion due to temperature and humidity changes.

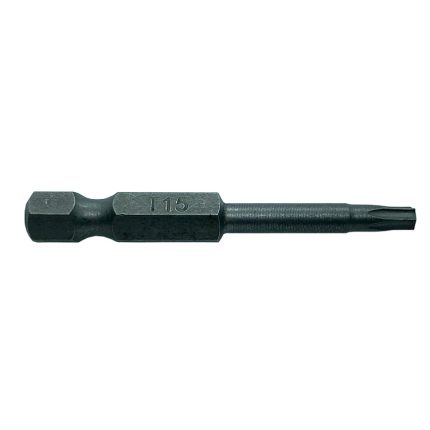
Tightening the Clip
Once the board is properly aligned, the screw should be fully tightened – ideally using a screwdriver at medium speed. The clip should hold the board securely without restricting its natural movement.


No account yet?
Create an Account
In stock