
8 Installation Mistakes You Must Avoid
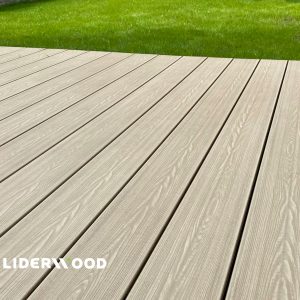
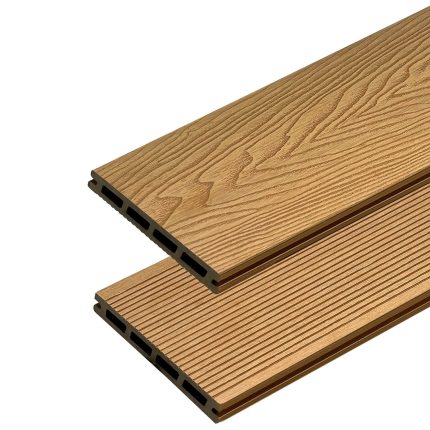
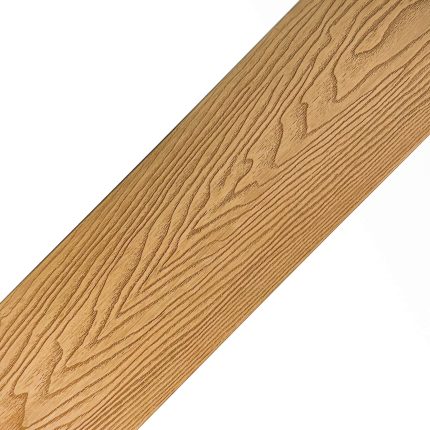
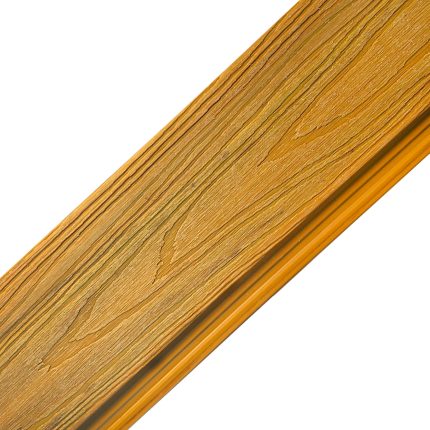
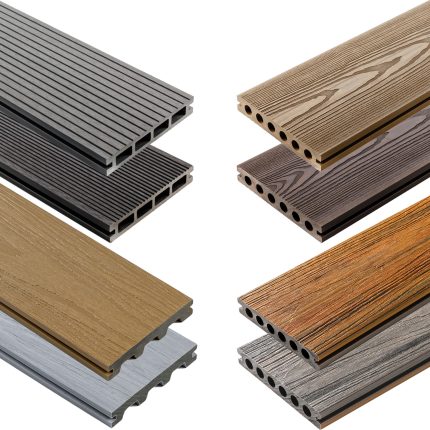
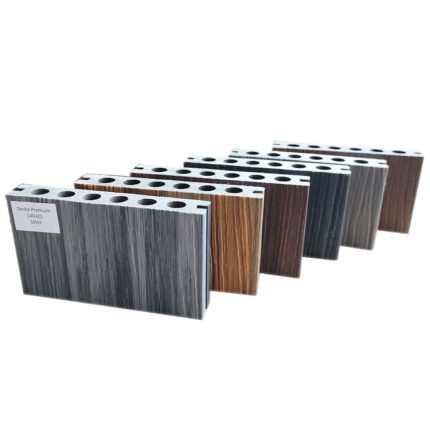
Composite Decking Boards combine the aesthetics of natural wood with the durability of plastics. They are resistant to moisture and UV radiation and do not require impregnation – but only if properly installed. Unfortunately, many complaints regarding composite boards are not due to material defects, but to installation errors. In this article, we explain why decking boards crack and how to avoid problems.
1. Lack of Expansion Gaps – the Most Common Cause of Cracks
Composite Decking Boards, like other building materials, respond to temperature changes – they expand in heat and contract in cooler conditions. This natural physical phenomenon is known as “material movement.” If the appropriate expansion gaps (i.e., intentionally left spaces for expansion) are not included during installation, the boards will have no room to shift.
What does it mean that the board “has no room to move”?
It’s a situation where the material encounters resistance – e.g., a wall, post, or another board – and cannot expand naturally. This leads to internal stress, which can result in visible damage: cracks, warping, or even bulging of the entire terrace surface.
Rule: Always leave expansion gaps – at least 10 mm near walls, balustrades, posts, and between boards. Expansion joints are not a flaw – they are a necessity for long-term deck durability.
2. Installation in Poor Weather Conditions
Composite boards should only be installed in proper weather conditions – i.e., at temperatures above 5°C and without precipitation. Low temperature, moisture, or sudden weather changes can negatively affect the boards’ structure, causing stress, deformation, or micro-cracks even during installation. Even worse – these issues often become visible only weeks or months later.
💡 Why is this so important?
In cold conditions, the material contracts, and when it warms up, it expands rapidly. If boards are installed without proper installation clearance – too tightly and without room to shift – they will have no space to move. This leads to warping or cracking, especially at joints or fastening points.
Remember: each board should be acclimated – laid flat at the installation site for at least 24 hours – to adjust to ambient temperature and humidity. This helps prevent sudden dimensional changes after installation and reduces the risk of future damage.
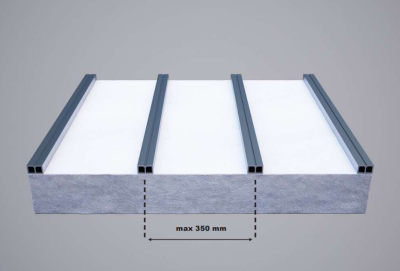
3. Joists Spaced Too Far Apart
Composite Decking Boards require proper and even support along their entire length to bear the load. If the Joists are spaced too far apart, the boards lack sufficient support and start to sag between fastening points. The result? Bending, bouncing, and micro-cracks that worsen over time. To prevent this, always follow the recommended spacing – no more than 35 cm between the centerlines of the joists. Only a dense and solid substructure guarantees long-lasting safety and durability.
📏 Make sure the joists are evenly spaced and follow the manufacturer’s instructions.
4. Gluing Elements During Installation
Gluing terrace components such as decking boards, joists, or finishing trims is a mistake that can seriously compromise the durability of the entire structure. Composite is a material that reacts to temperature and humidity changes – it naturally expands and contracts. If any of its elements are permanently fixed using adhesive, they lose the ability to compensate for these movements.
This applies not only to decking boards but also to elements mounted to walls or steps – such as corner trims or fascia boards. Adhesive may seem like a quick solution, but it often leads to cracks, delamination of ends, or warping of the material.
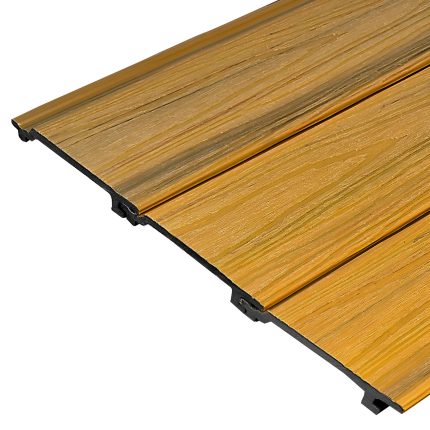
Rule: All composite components should be installed mechanically – using clips and screws – with proper expansion gaps and ventilation. This is the only way to ensure long-term durability and appearance.
5. Fixing Boards Directly to the Ground
One of the most damaging and common mistakes is fixing Composite Decking Boards directly to concrete, blocks, or soil, without using joists and a proper substructure system. While this may seem quicker or cheaper at first, it leads to serious and irreversible damage.
Since the boards “work” – expanding and contracting due to environmental conditions – direct attachment to a rigid base prevents natural movement. This causes stress that over time leads to:
-
surface cracks,
-
bulging,
-
end separation,
-
damaged fastening points.
📌 Composite requires flexible installation.
The correct system is based on joists, which provide air circulation under the boards and allow for required expansion spaces. Only this approach ensures lasting quality and appearance.
Mistake: Screwing composite boards directly into the ground = guaranteed damage and loss of warranty. Don’t risk it – follow the manufacturer’s installation guidelines.
❓ Have doubts about installation? – Contact us.
6. No Slope – Water Stagnation on the Deck
One of the key rules of proper deck installation is ensuring a sufficient slope of the base surface. The minimum gradient should be 0.5%, or 5 mm per linear meter of the terrace, sloping away from the building.
Why is this important?
Without a proper slope, rainwater can’t drain – it collects on the surface, in gaps, and underneath the substructure. Standing water is the #1 enemy of any deck – even if you use moisture-resistant composite boards, prolonged contact with water can lead to:
- faster material wear,
- hazardous ice in winter,
- increased risk of mold and mildew growth underneath.
💧 Tip – How to Plan Drainage?
Already during the concrete base or ground prep phase, you should:
- create a 0.5% slope – for a 3-meter terrace, the height difference should be 15 mm,
- use laser-leveling for precise substrate shaping,
- consider a linear drainage system (especially for large or enclosed terraces),
- always slope away from the building – never toward it.
Good drainage design is not just aesthetic – it’s a long-term investment in the safety and durability of your terrace.
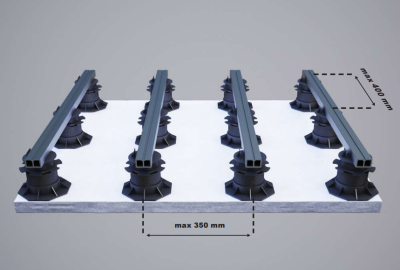
7. Errors When Installing on Adjustable Pedestals
When installing decking on pedestals:
- the joist must have at least three support points,
- the distance between pedestals must not exceed 400 mm,
- the substrate under the pedestals must be stable and level.
Lack of stabilization = structural movement = stress and board cracking.
8. Wrong Tools and Installation Technique
Composite Decking Boards require precision and the right tools. Many defects are caused by poor technical preparation of the installation team – or by DIY attempts without the necessary experience.
Common mistake: using the wrong type of saw – for example, one with coarse teeth meant for construction timber. Such a blade can tear the board edges, cause delamination, and create microcracks that worsen over time due to load and weather conditions.
Another mistake: not chamfering the screw holes. Without proper countersinking, the screw applies too much pressure, which can lead to delamination around the fastener – especially under significant temperature variations.
💡 Recommended Tools and Techniques:
- Circular saw with fine teeth (metal blade) or diamond-tipped blade – ensures clean, precise cuts without splinters.
- Countersink bit – prepares a neat and safe hole for the screw.
- Torx T15 bit – provides accurate screw insertion without stripping the head.
- Use two screwdrivers – one for drilling, one for driving – to increase speed and quality.
✅ Precision is critical for deck durability. Even the best boards lose their properties if improperly cut, drilled, or fixed. That’s why investing in professional installation or high-quality tools and technical knowledge pays off.
Proper installation is not just about aesthetics – it’s the foundation of structural durability.
Most complaints (cracks, bulging, surface wear) are not caused by the boards themselves, but by installation errors: lack of expansion gaps, unstable base, improper joist spacing, or wrong tools.
No experience? Trust professionals.
It’s an investment in a durable, elegant, and trouble-free deck for years.
🔗 Check out Liderwood Composite Decking – durable, maintenance-free, and elegant for years to come.
🔗 Download the Liderwood Installation Guide – practical support to help you avoid costly mistakes and get the most out of the material.
📞 Contact us – we’ll advise, quote, and handle everything for you.